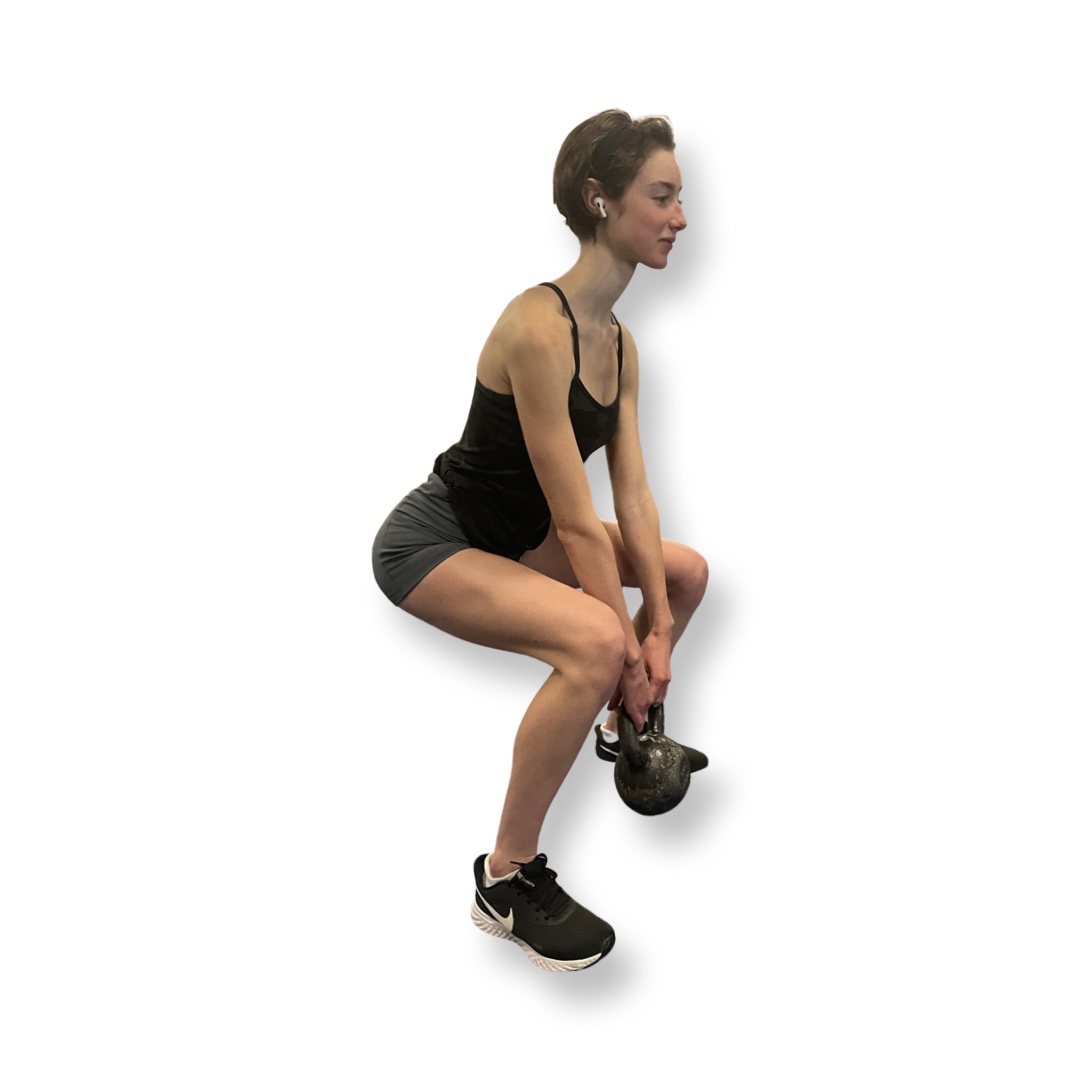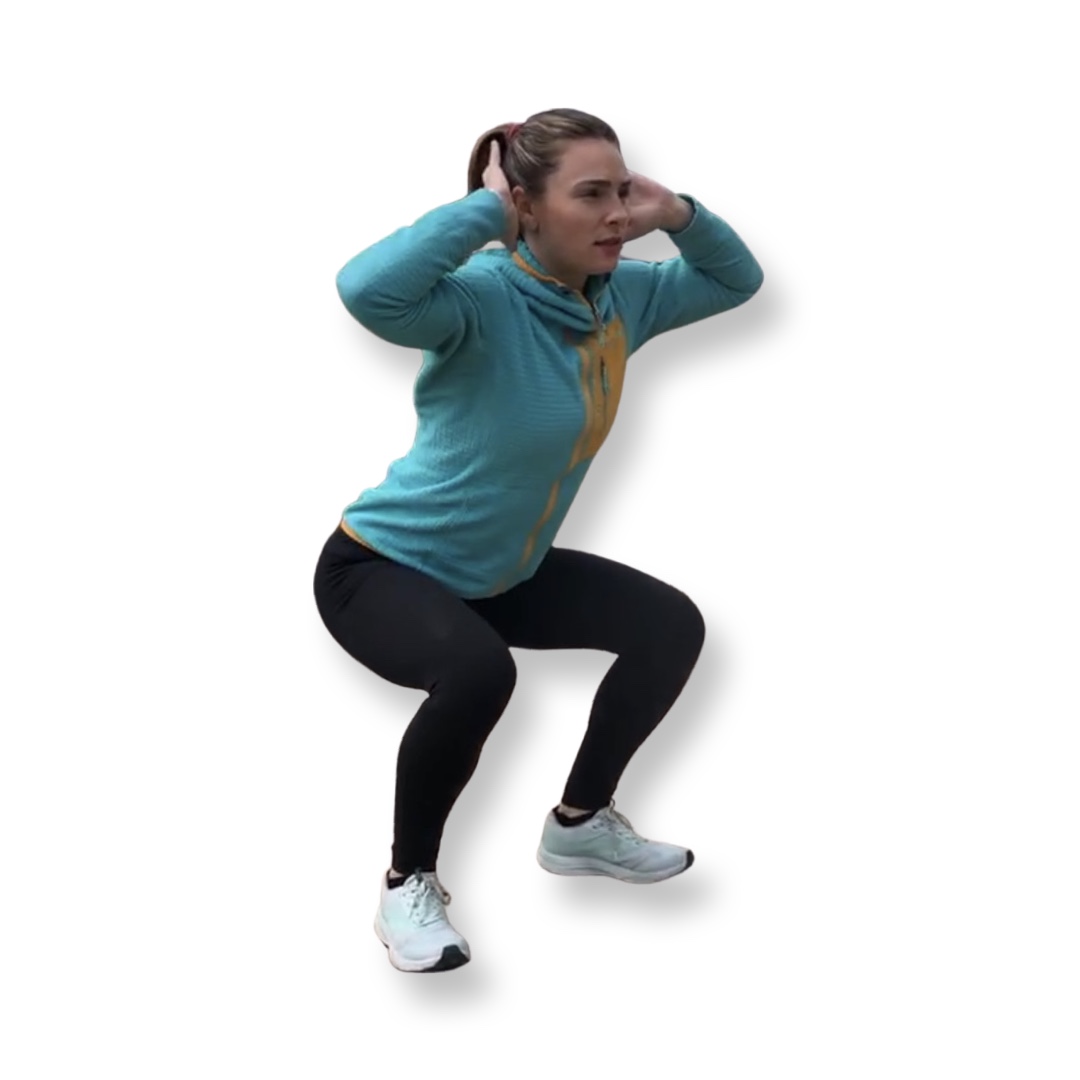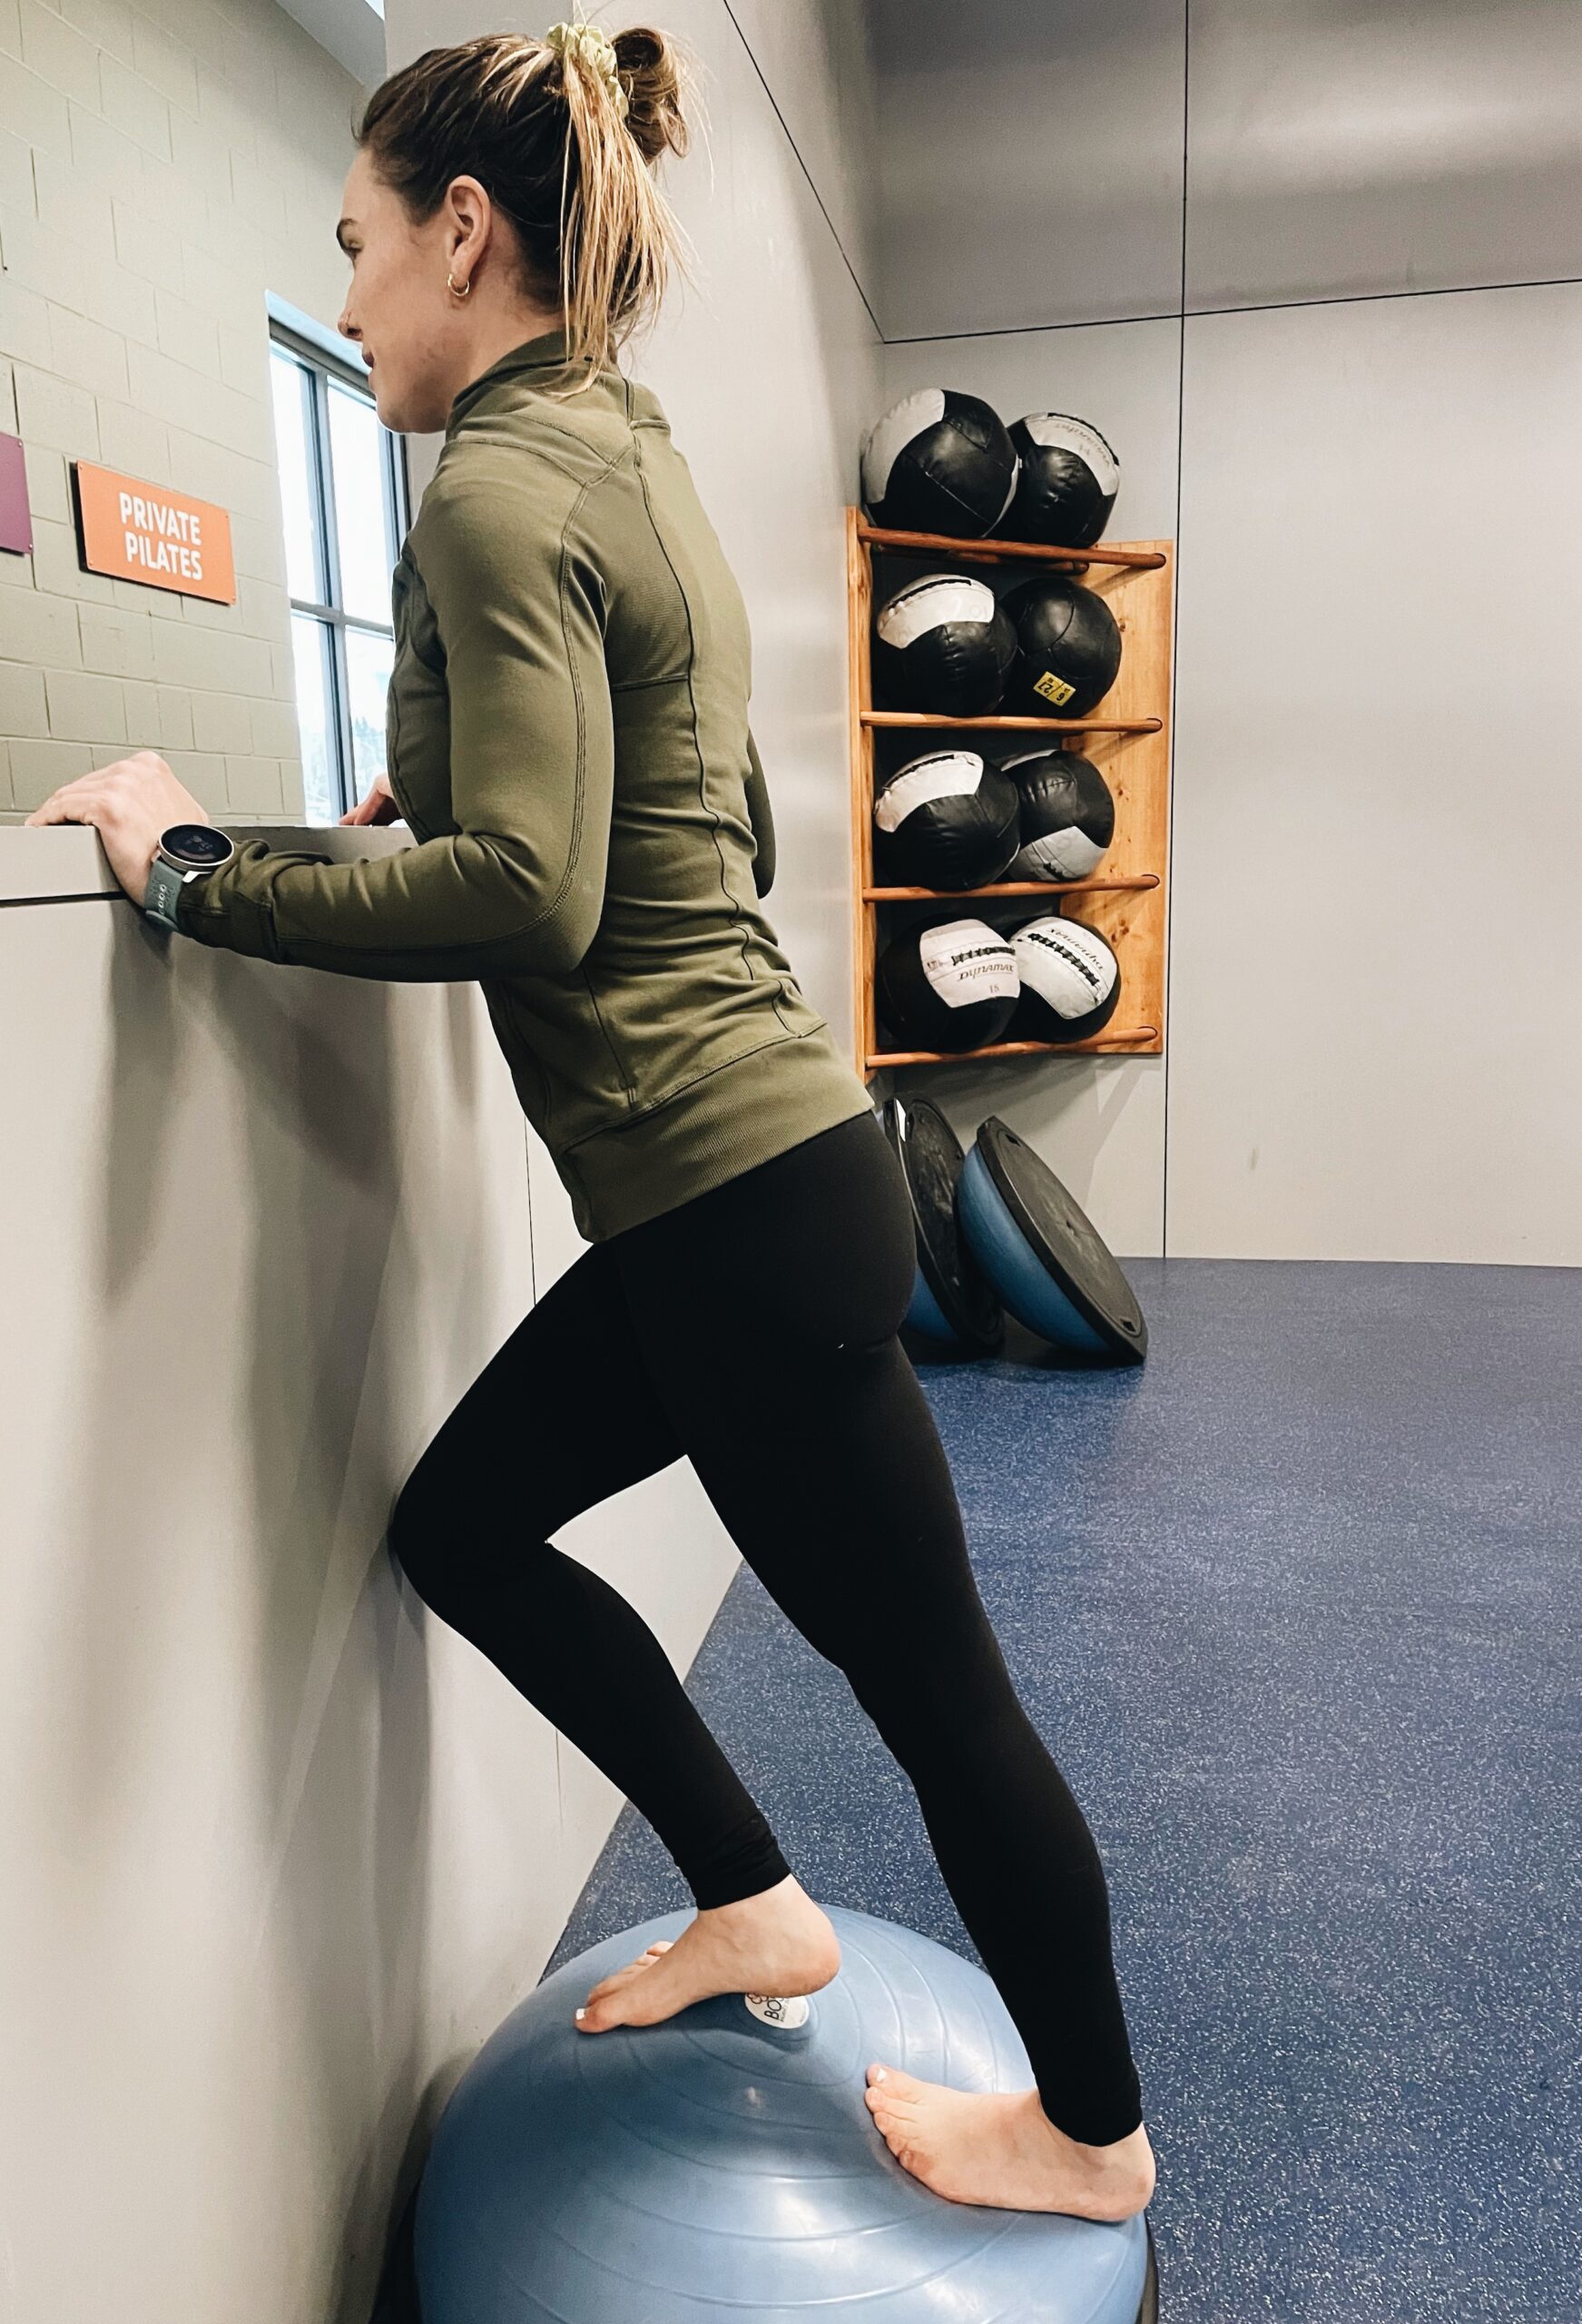
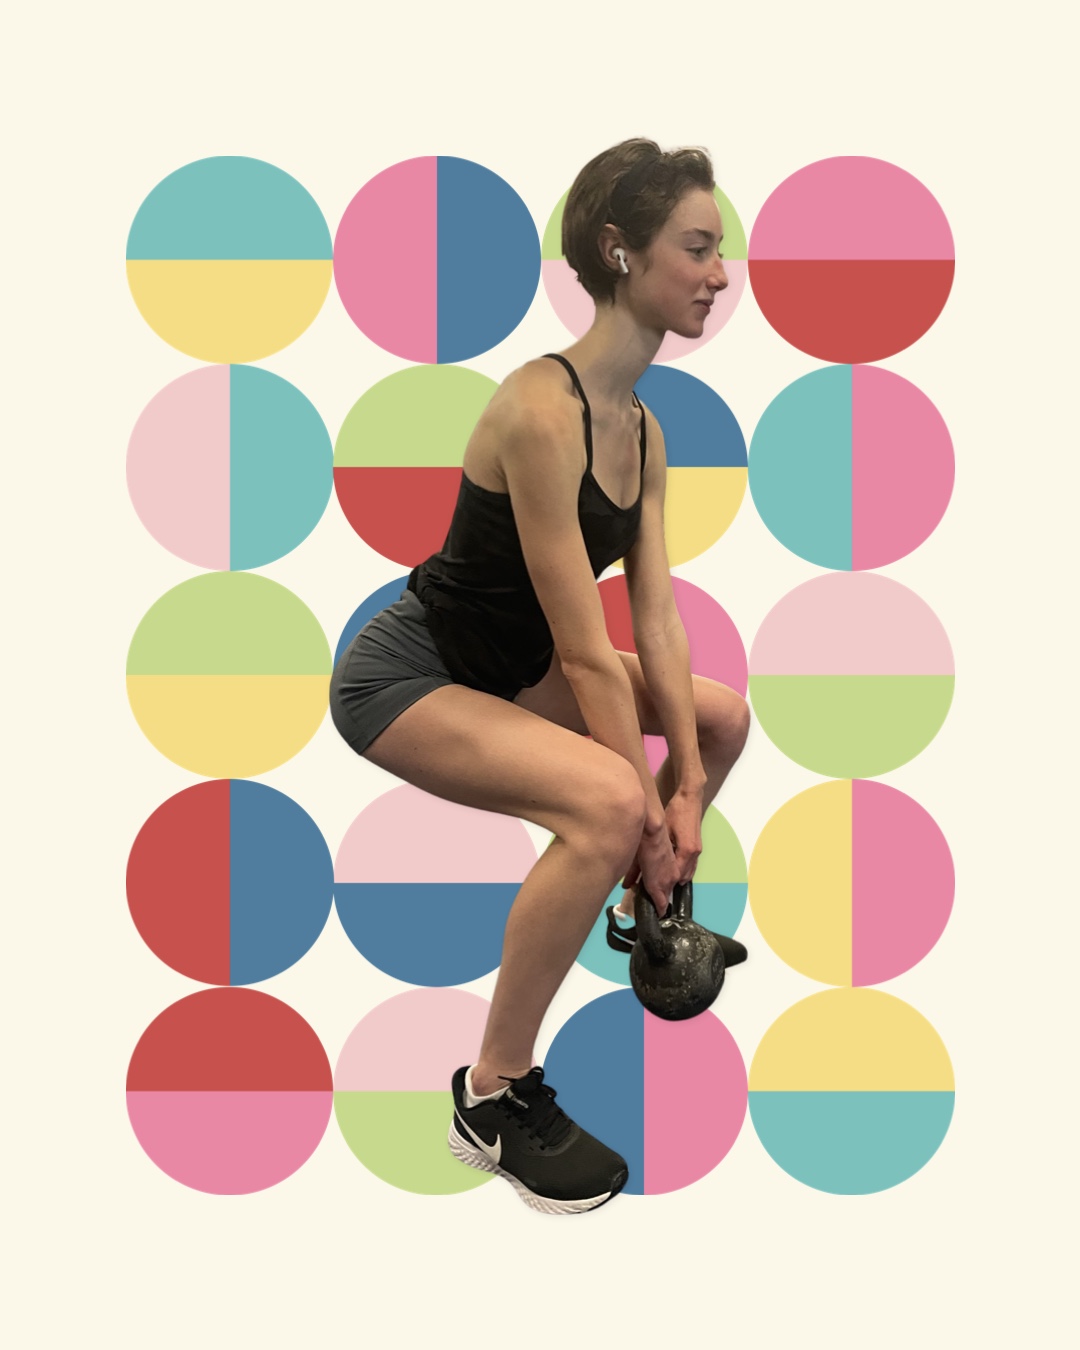
All winter sports require strong leg muscles, good balance and core support—all benefits of doing regular squats. The squat is one of the most common and basic exercises performed in strength training and offers a tremendous bang for your buck.
There are many reasons you should be doing squats, if you aren’t already doing so. Getting out of a car, climbing stairs, skate or ski, all depend on strong legs. Squats strengthen your leg muscles, especially the quadriceps, glutes, and core, burn calories and help prevent injury. The inner thigh, hamstrings and calves are all challenged. Additionally, the erector spinae serve as stabilizing muscles in a squat. They help strengthen your core and promote good posture.
Form is so important in squats, and there are four common problems you often see; excessive forward lean, low back arching, low back rounding, or a lateral hip shift. Muscle imbalances, like tight hip flexors and calves, or weak core support, are often the culprits here. Lacking the mobility in your hips or ankles, forgetting to use your core muscles, or weak gluteal strength all contribute to problematic squats.
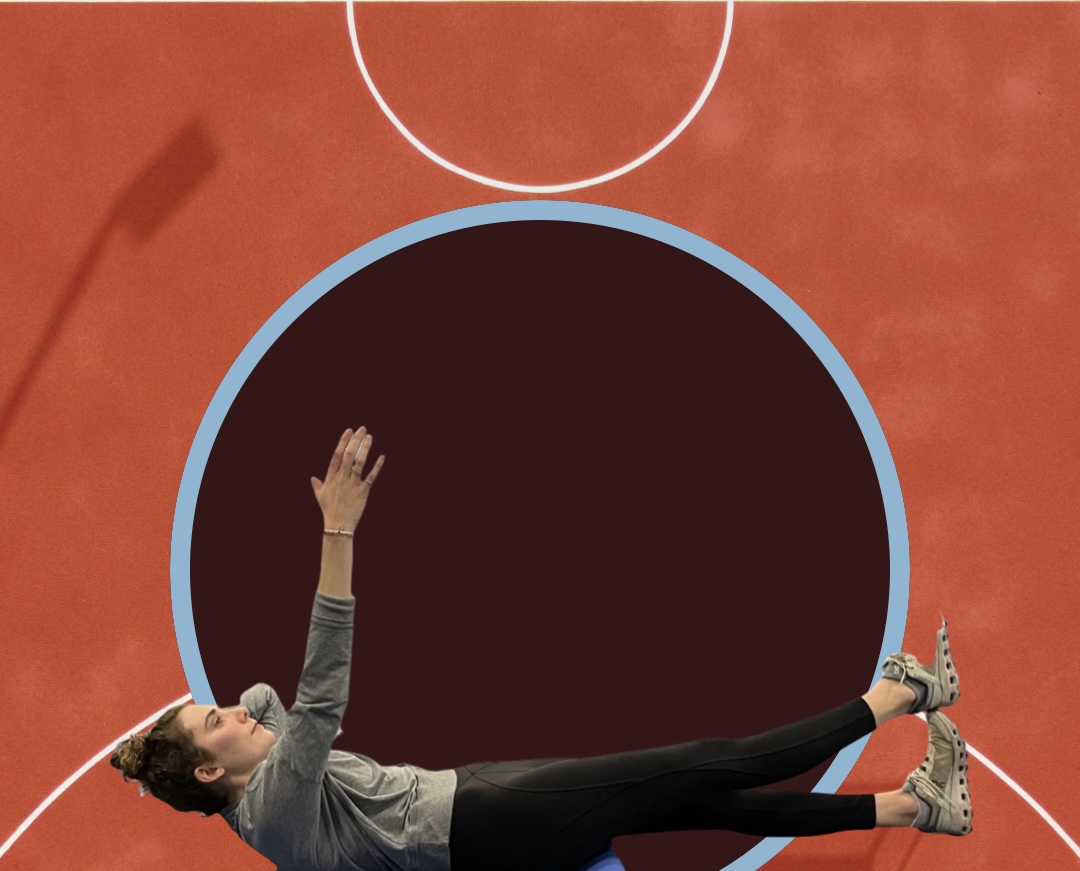
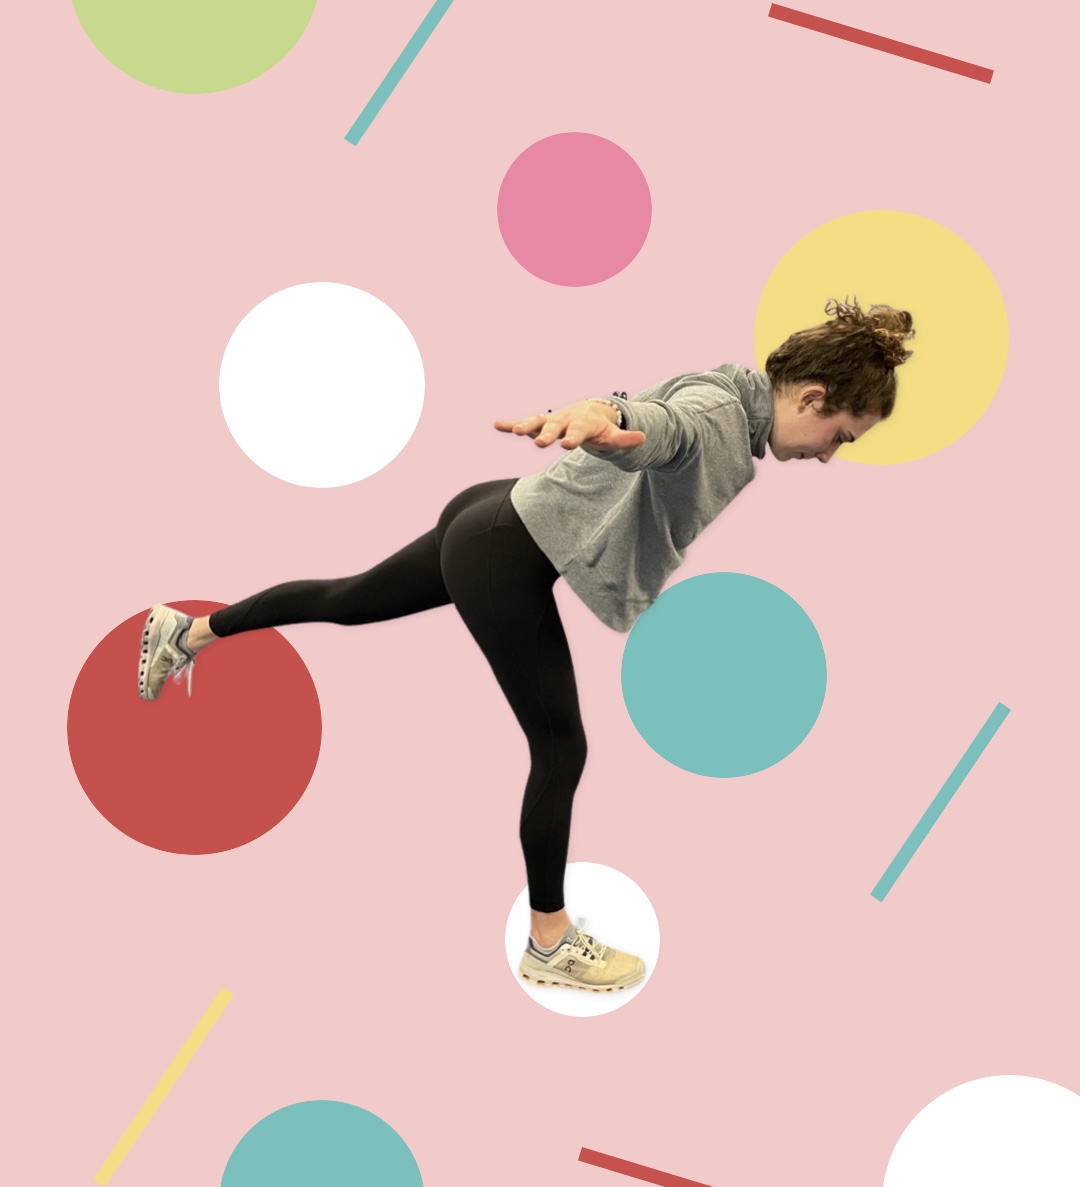
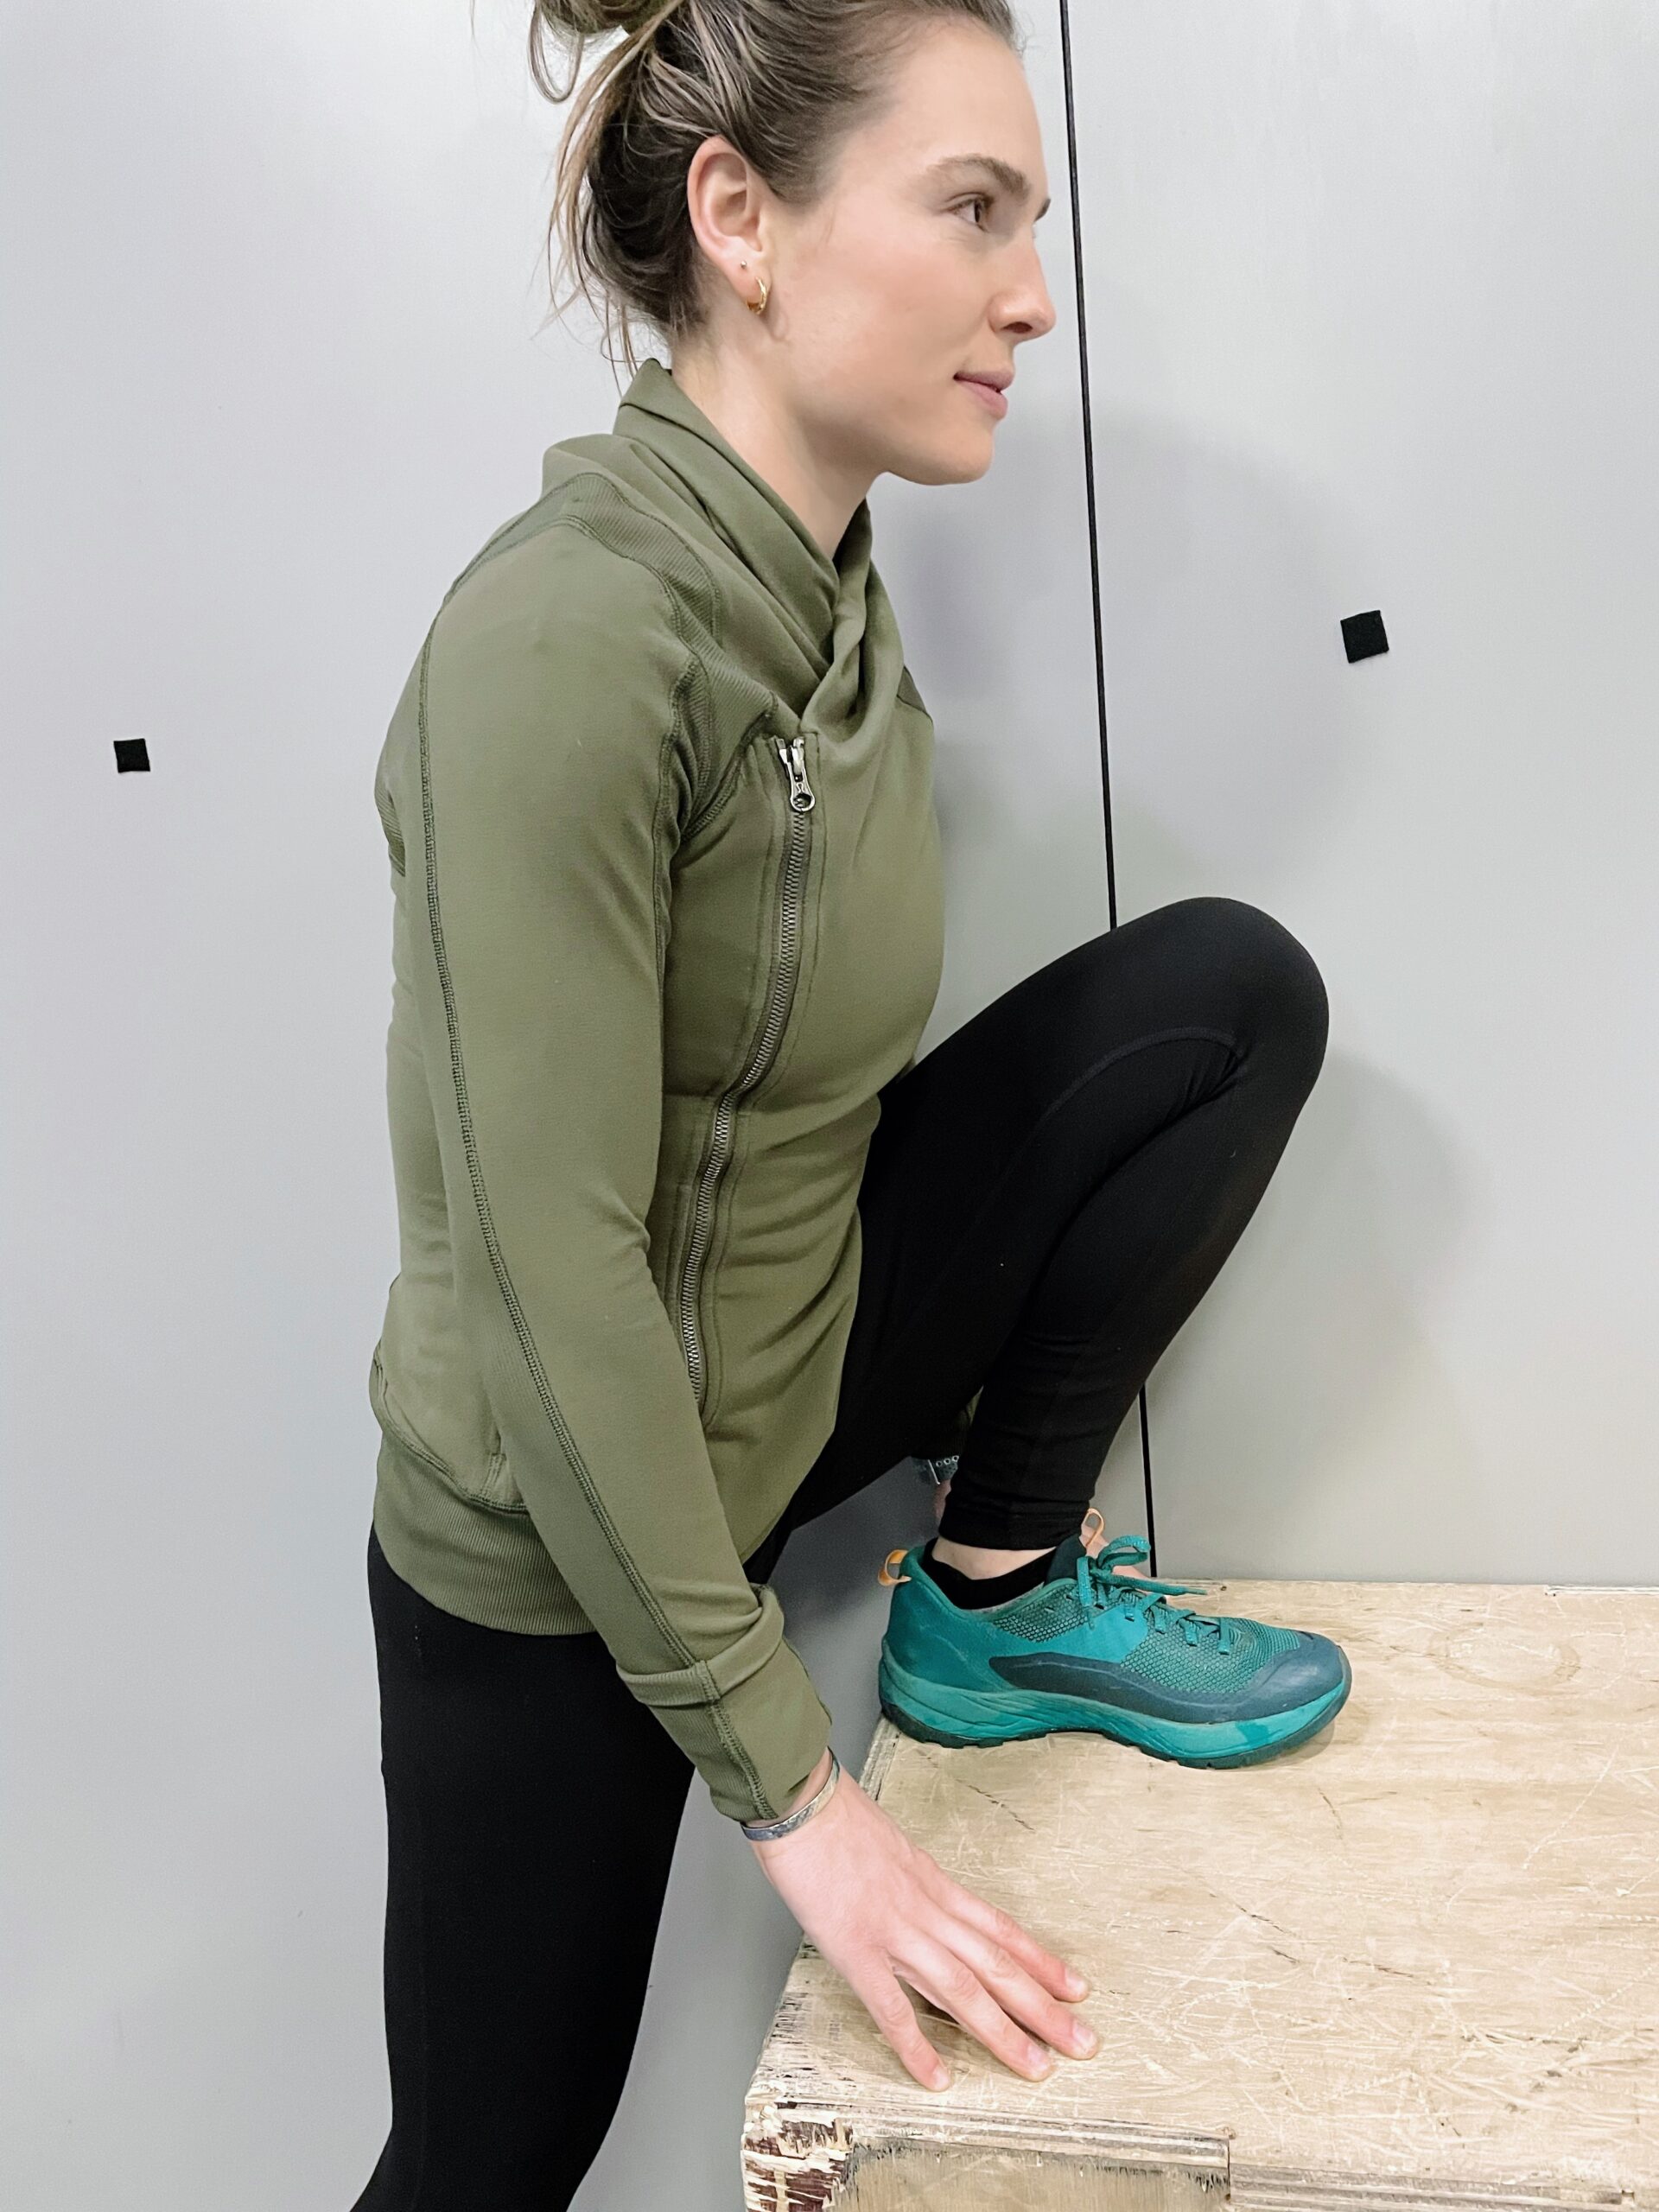
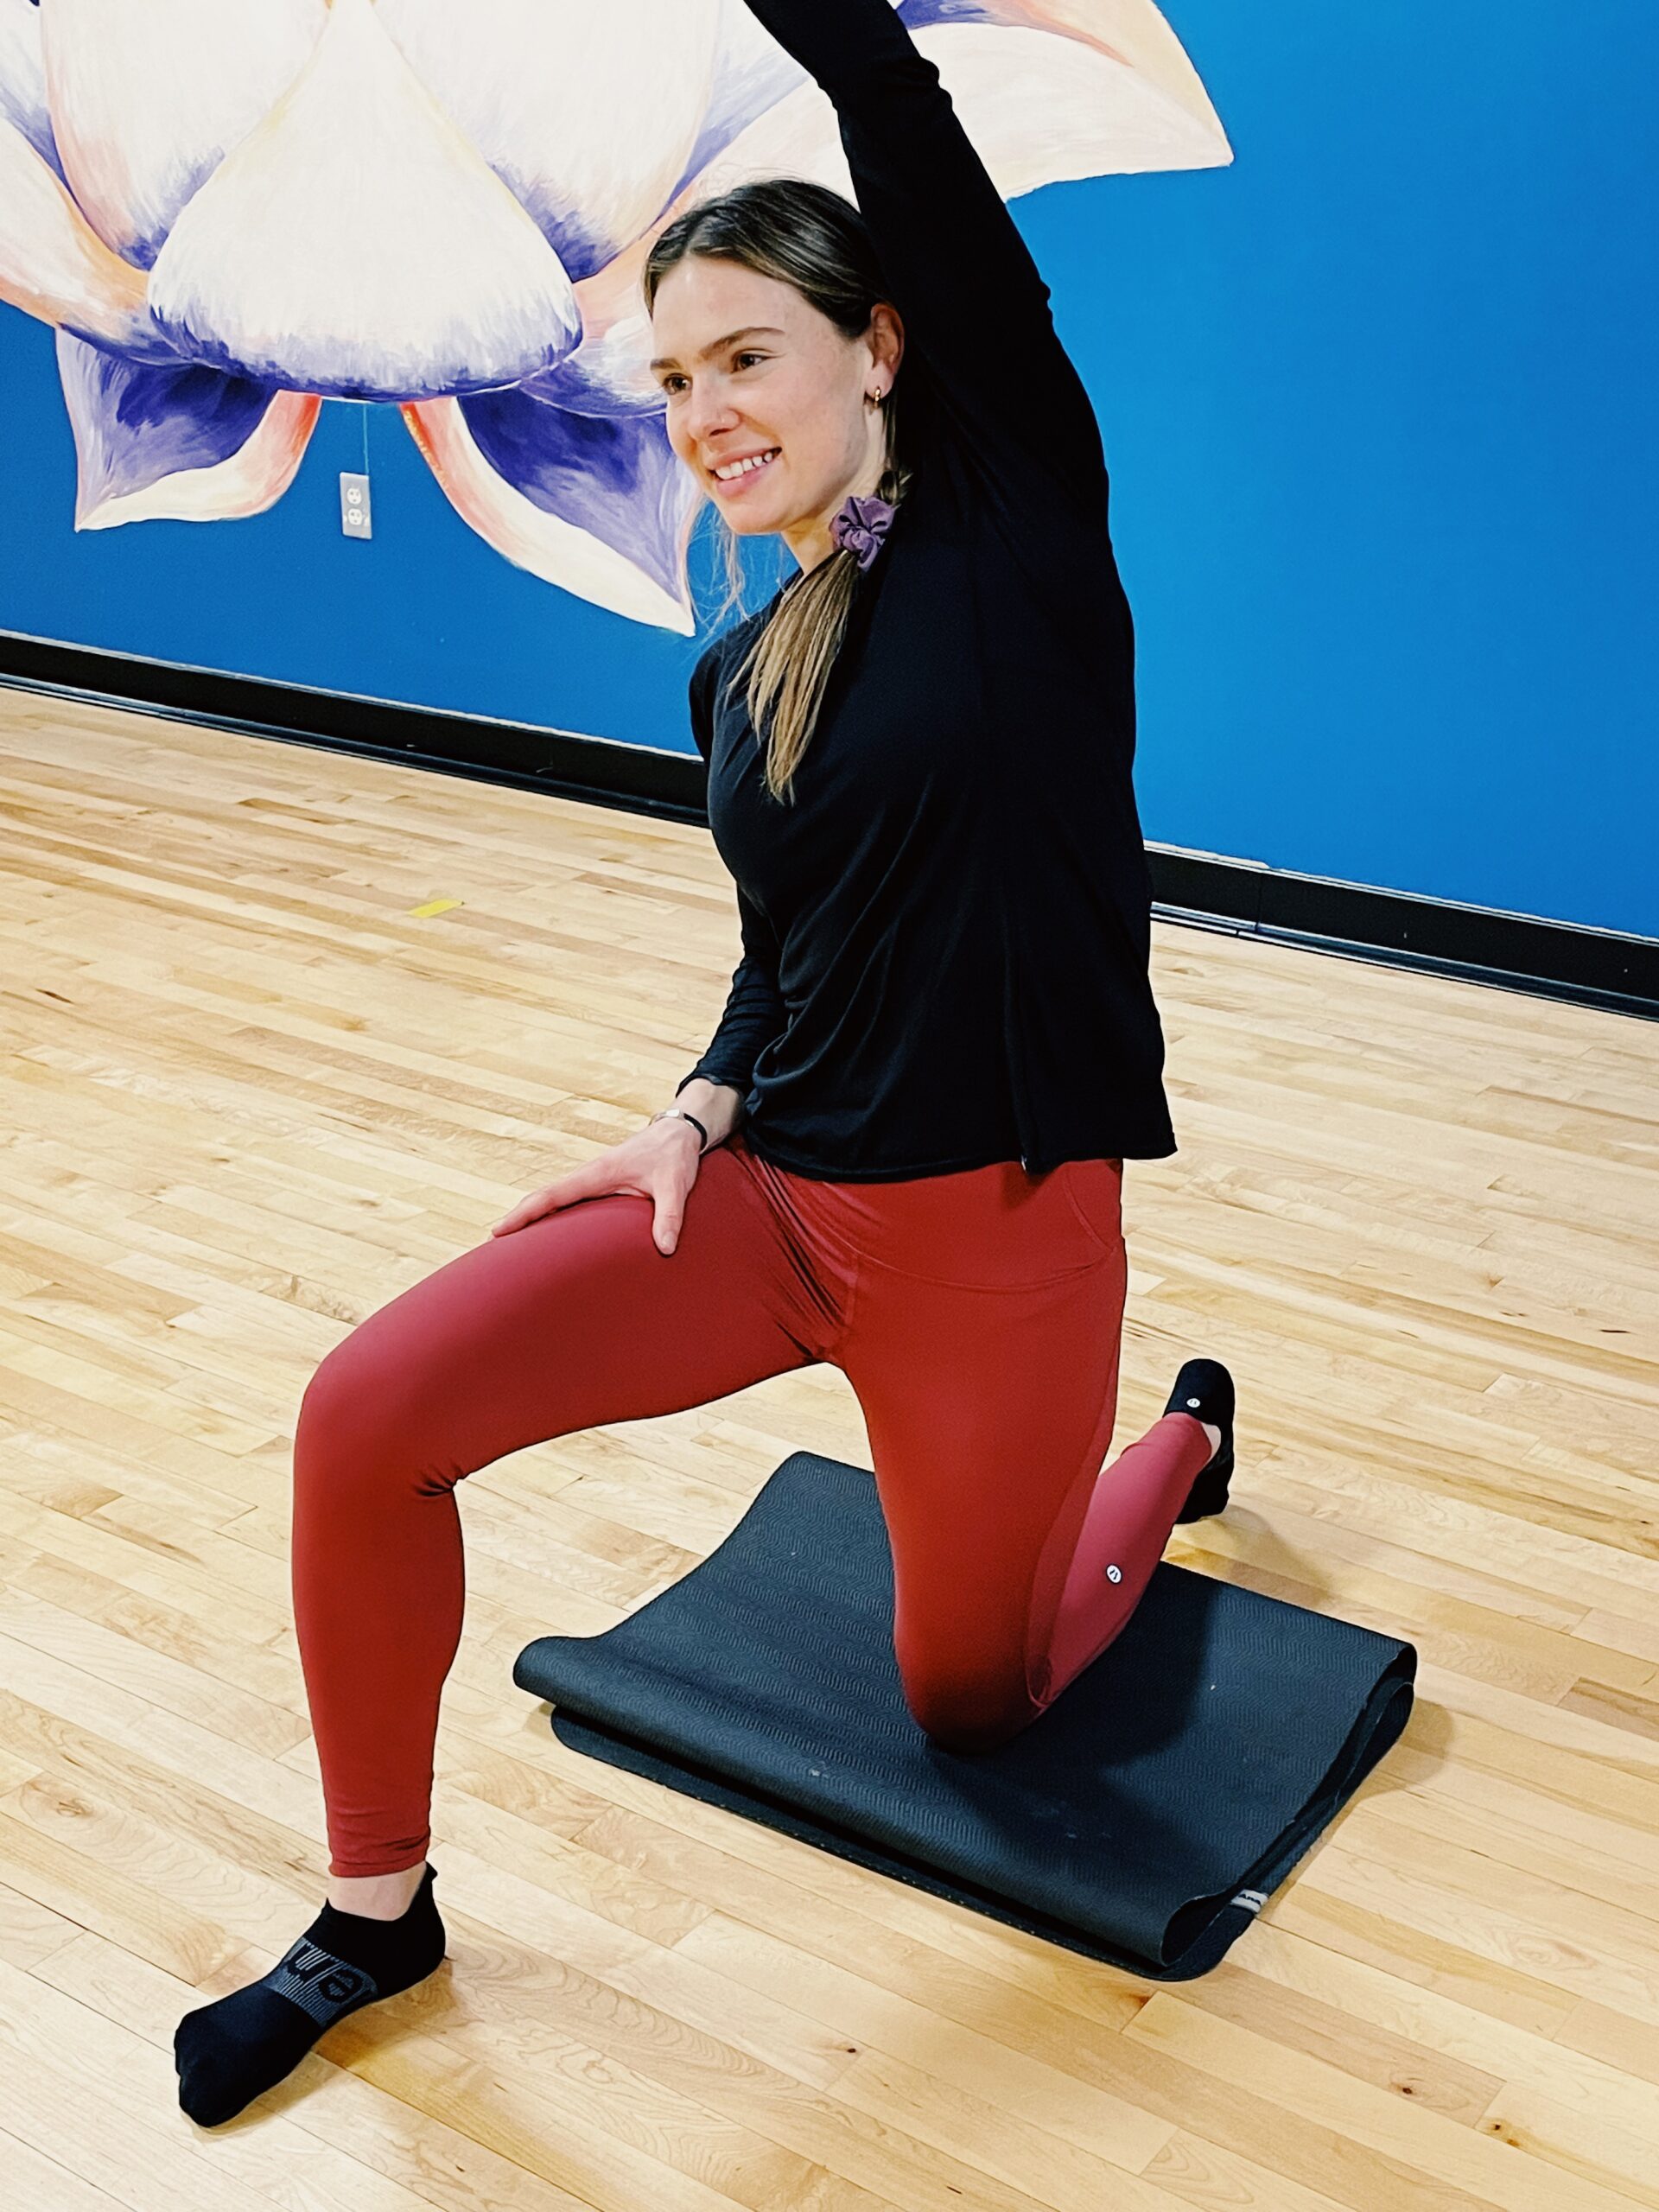
A fun and humbling test to improve your squat would look like this: Crawl on the floor for a few paces, rock forward, and without using your hands, stand up. This effectively demonstrates ankle and hip mobility, and core and lower body strength needed to transfer your weight up into standing. This drill exemplifies strength and mobility, important qualities in a squat.
Let’s look at two quick fixes to improve your squat technique.
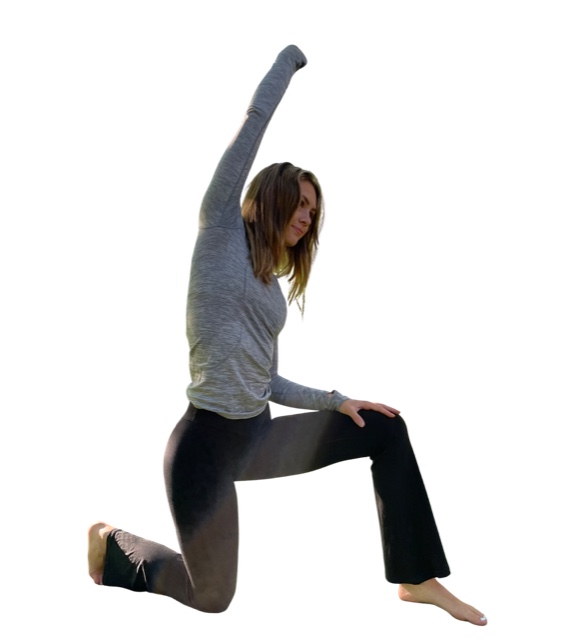
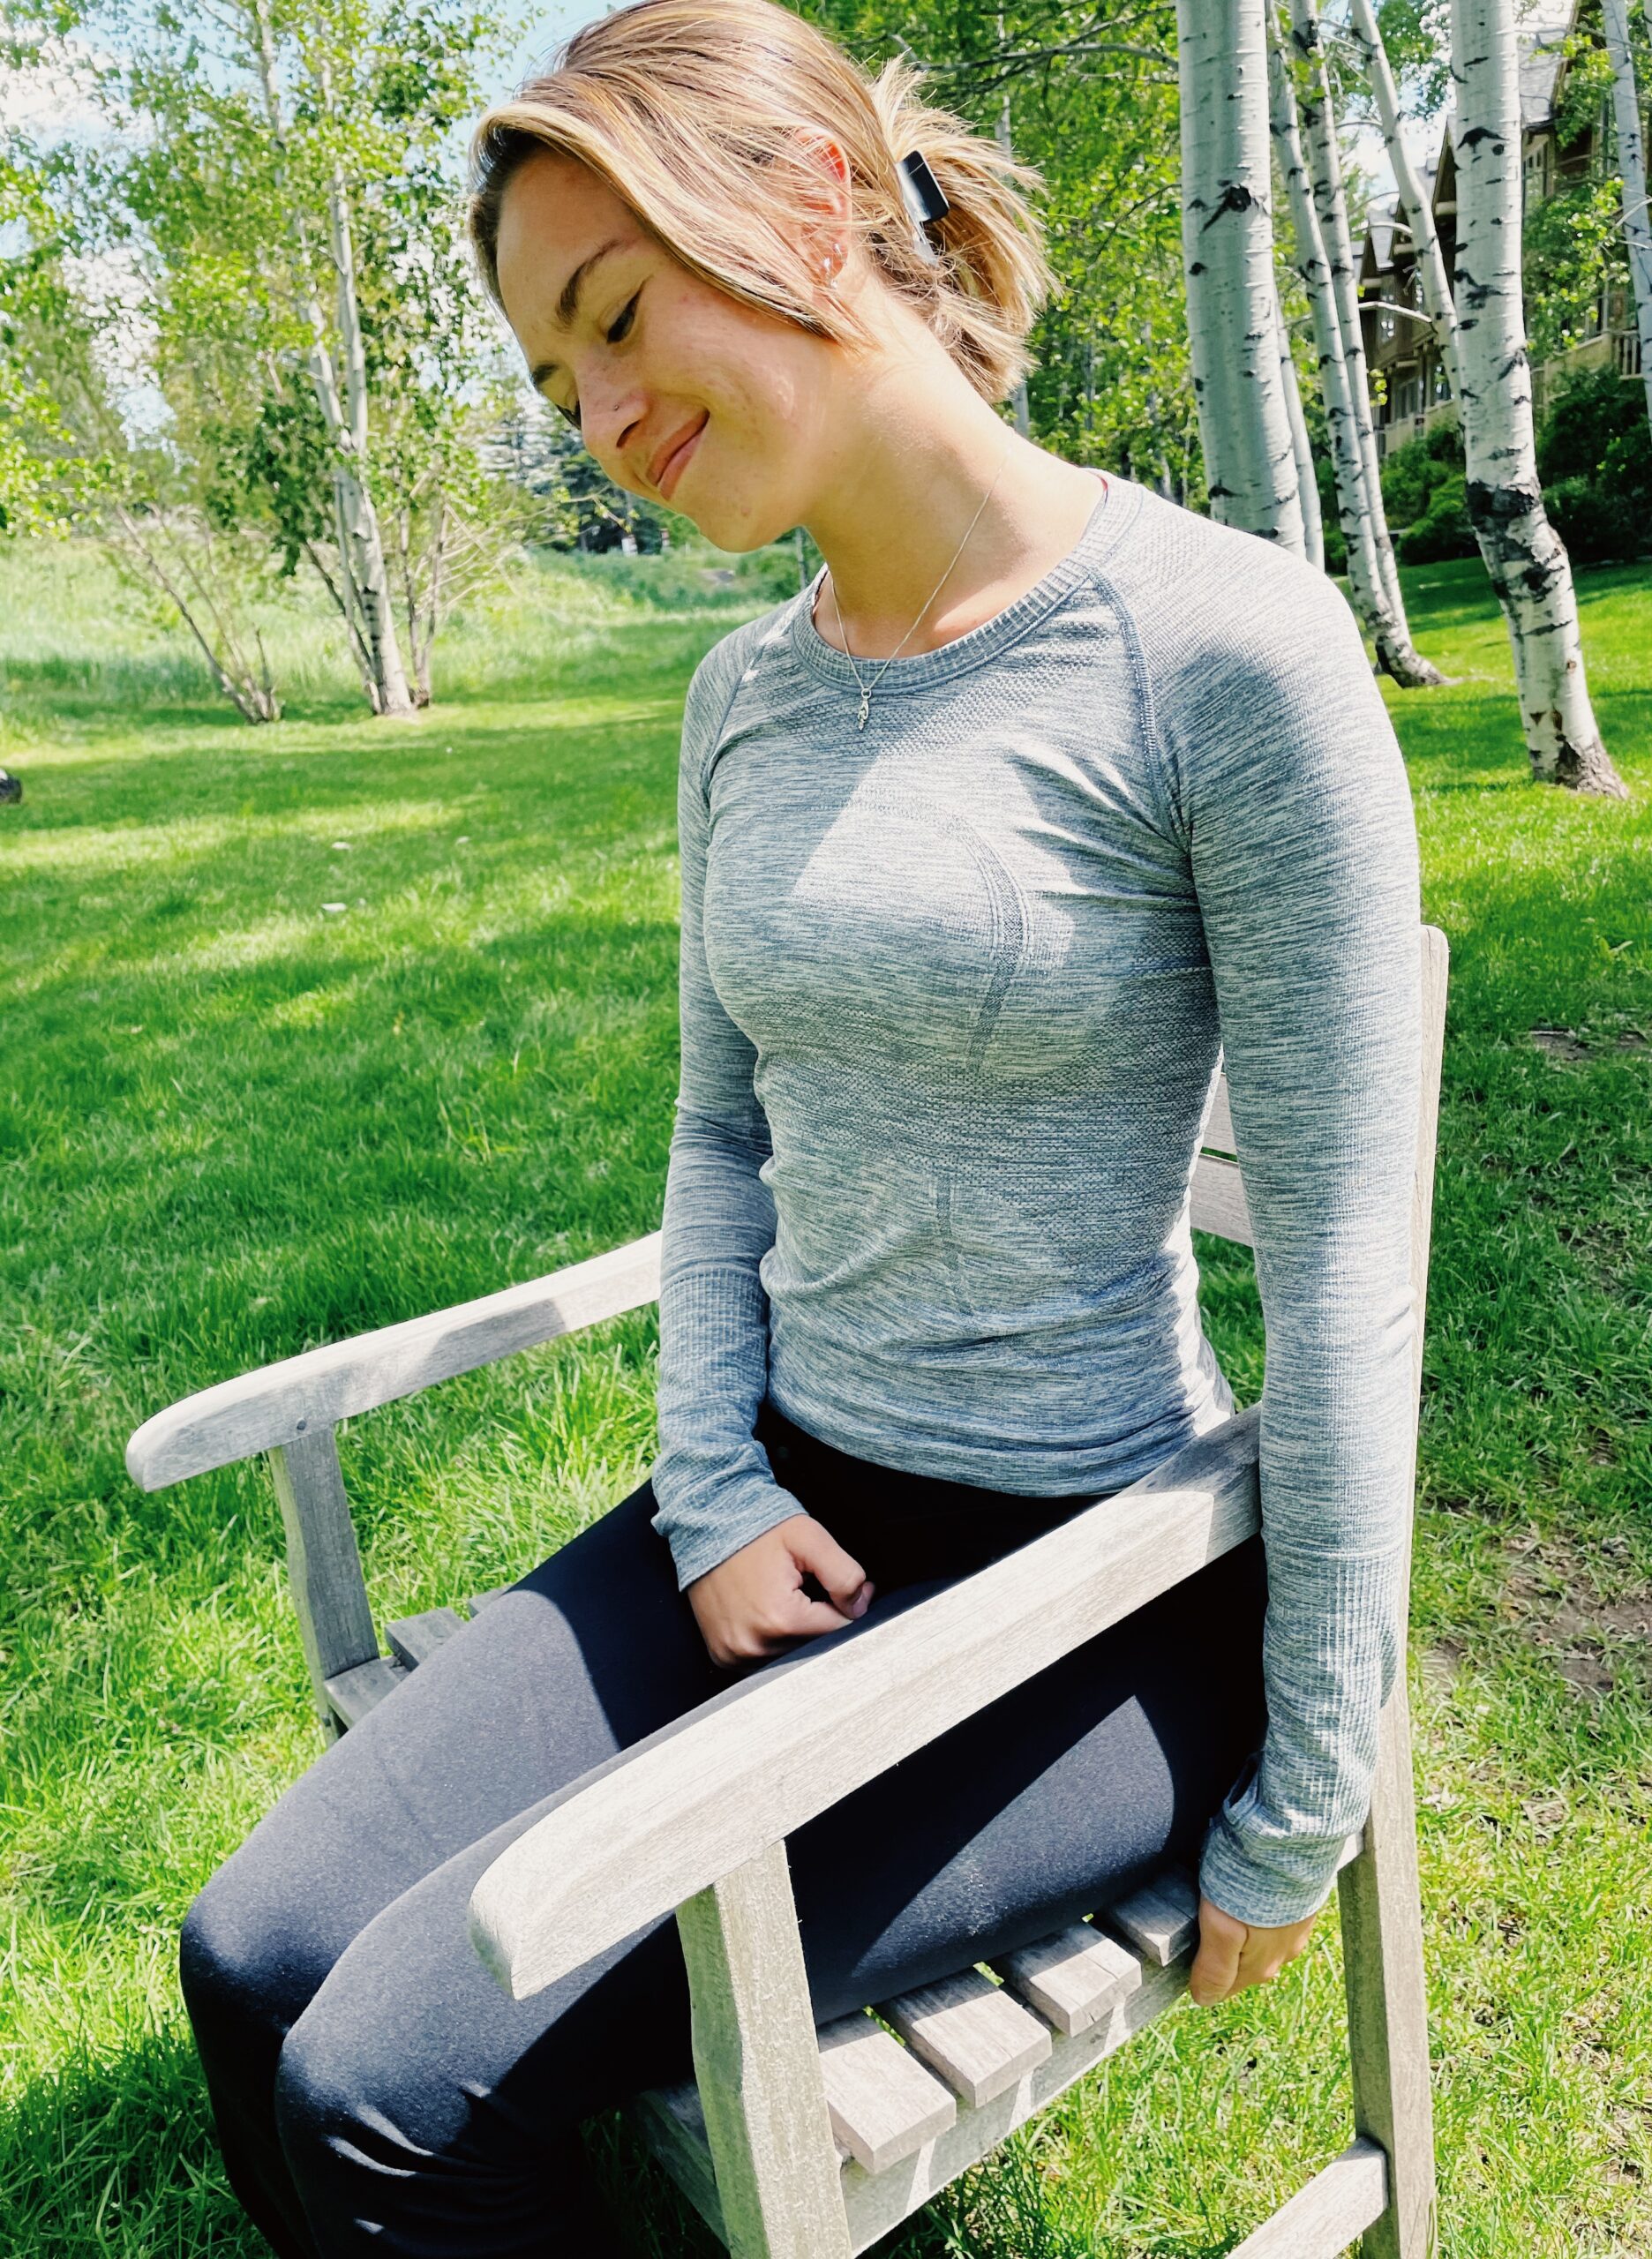
Hip hinge with Dowel
The hip hinge is one of the most important cues to think of when you perform a squat. Hinging at your hips, in any type of squat, saves the spine stress and strain, as the motion is focused on the hips, not the back. The dowel teaches you to maintain a tall spine, without the head falling forward, a common mistake. The dowel exercise also helps correct excessive forward lean, or the lower back rounding.

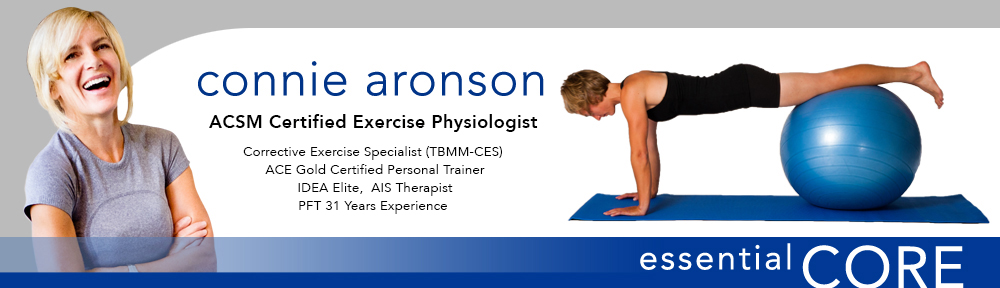
Photo by Connie Aronson
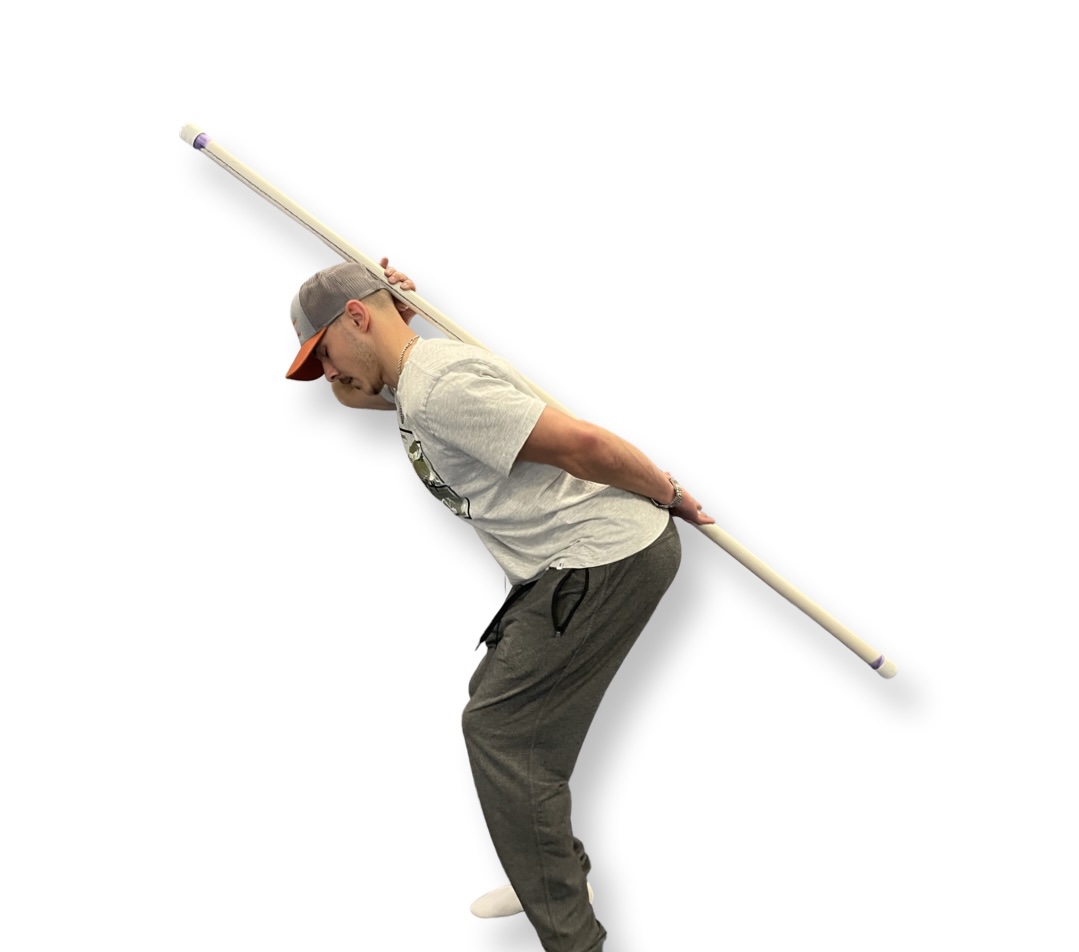
• Place a dowel, or broom stick on the base of your skull, the thoracic spine –your upper back, and the sacrum.
• The dowel must remain in contact with these 3 points throughout your hip hinge range.
• Think of sinking your hips backwards, and return to start position.
• Your legs can be straight or a slight knee bend.
• Do 8 x, slowly.
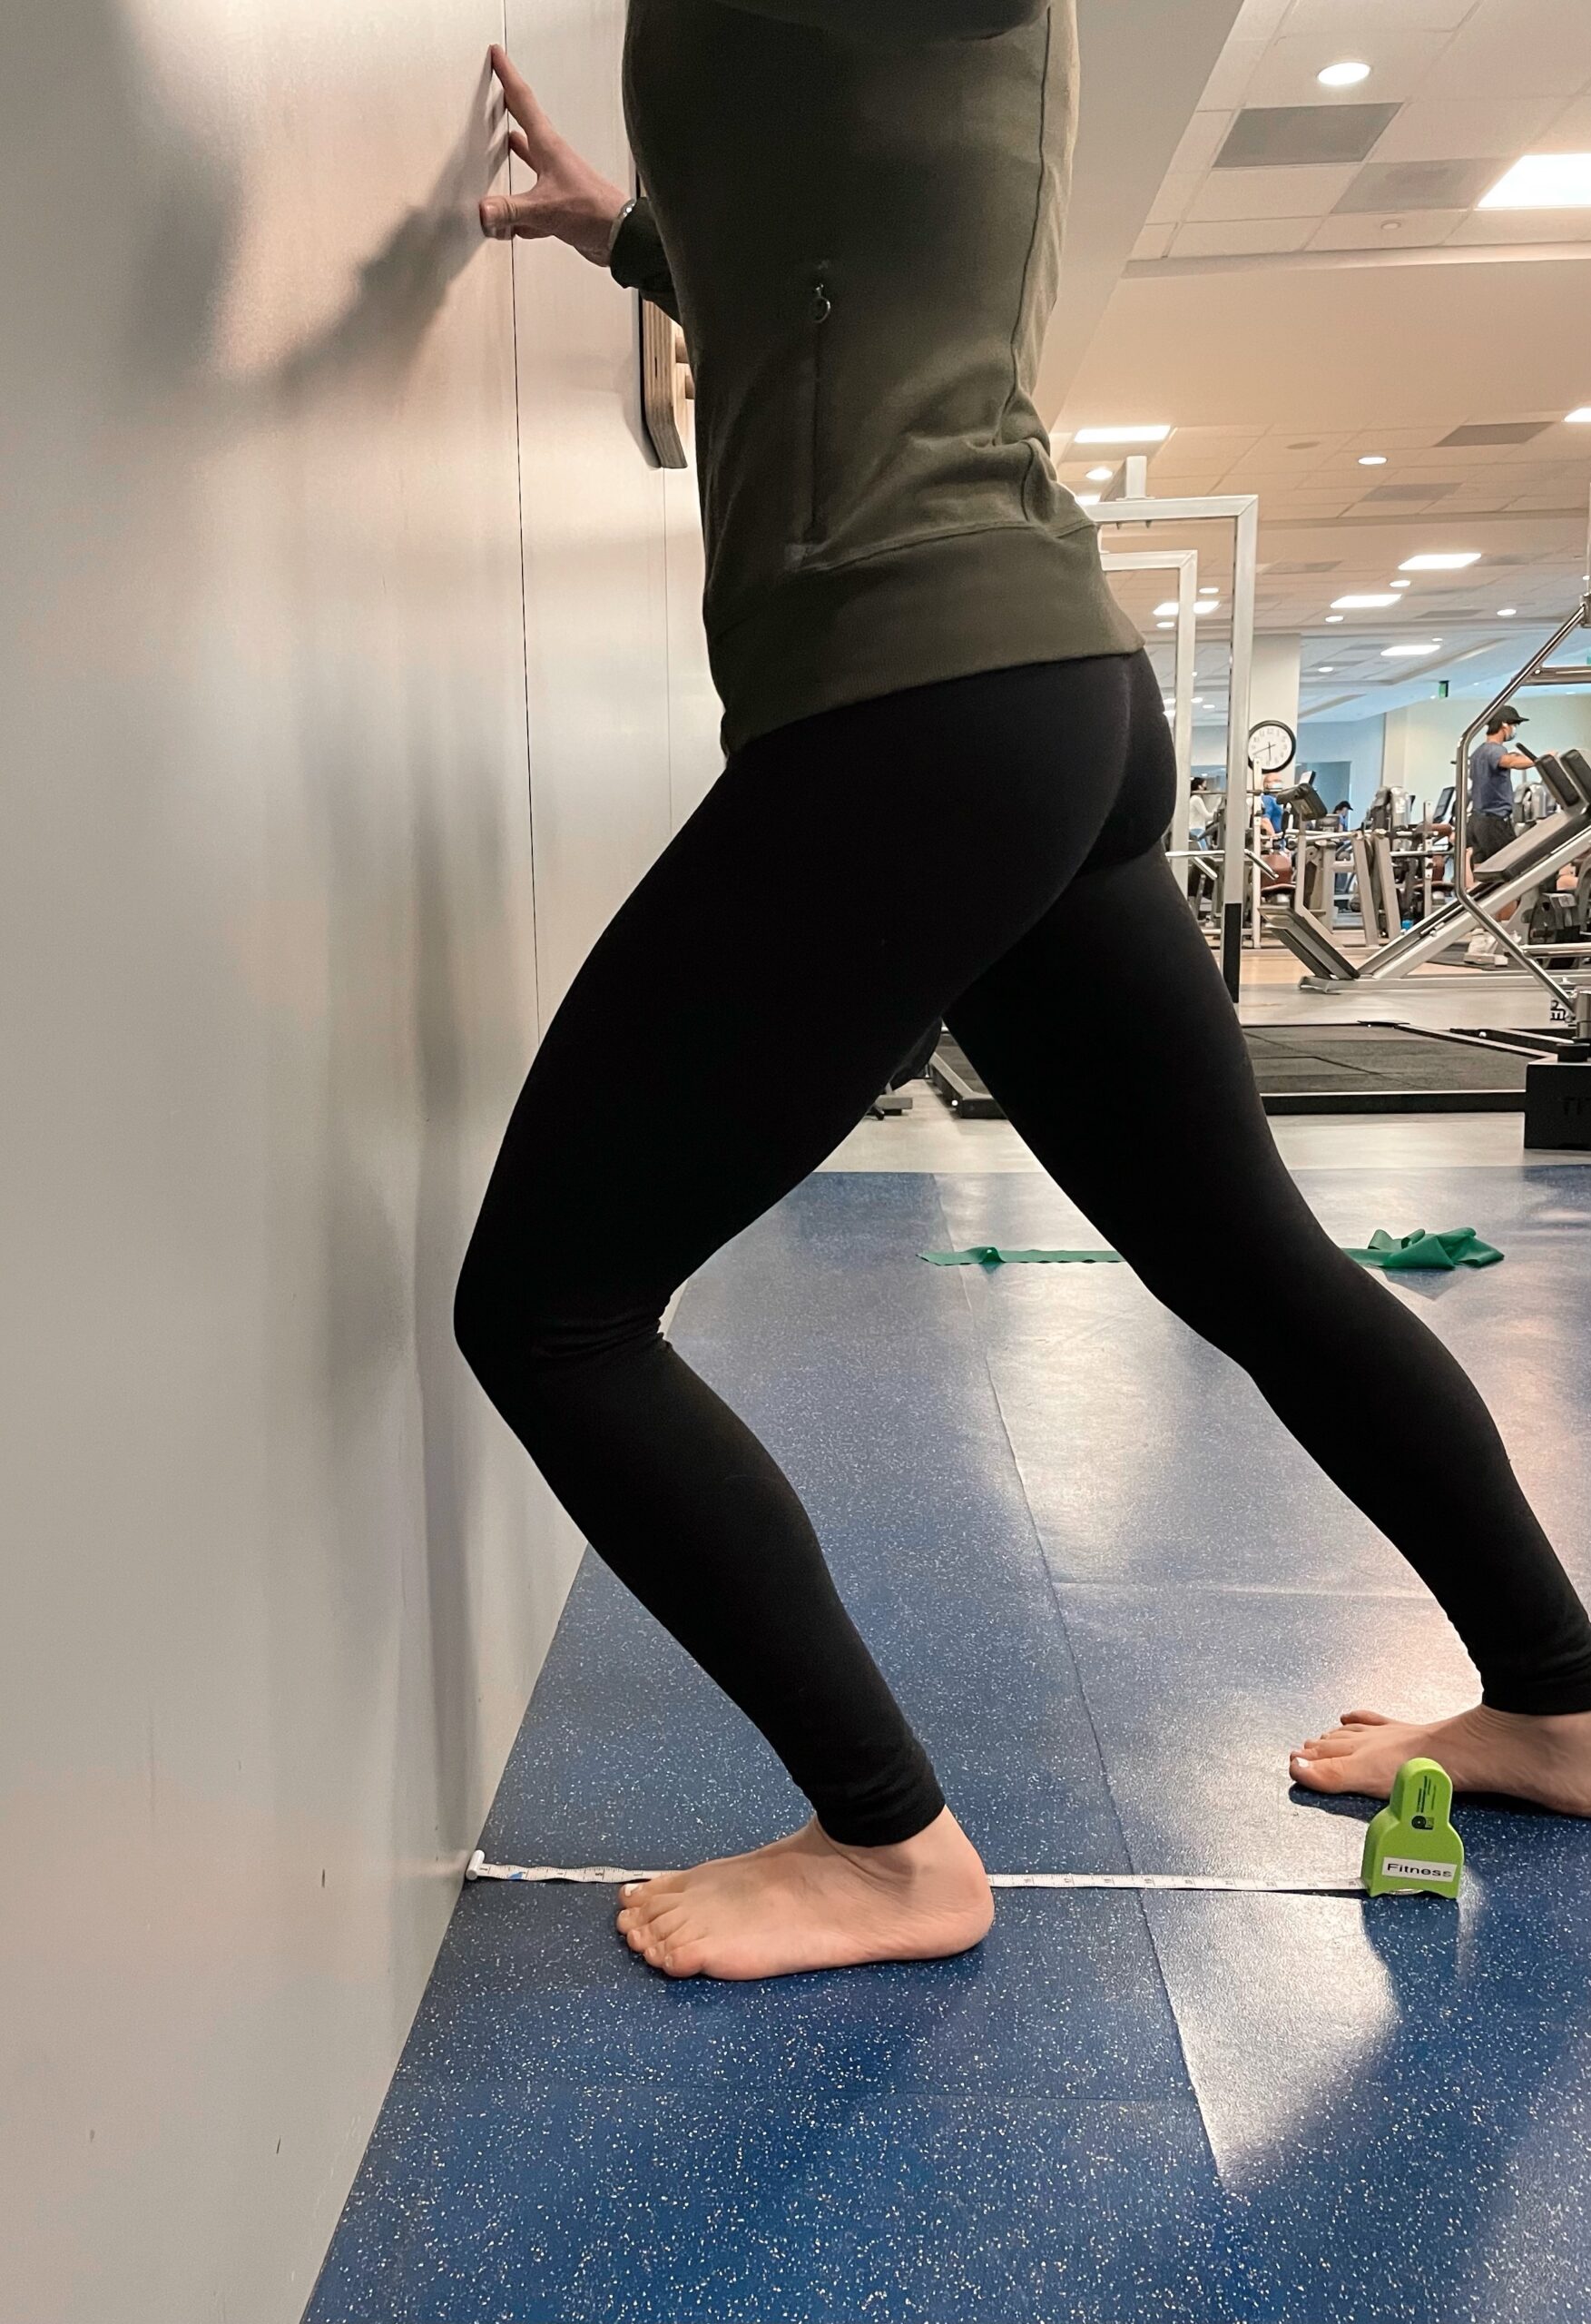
Squat with heel lifts
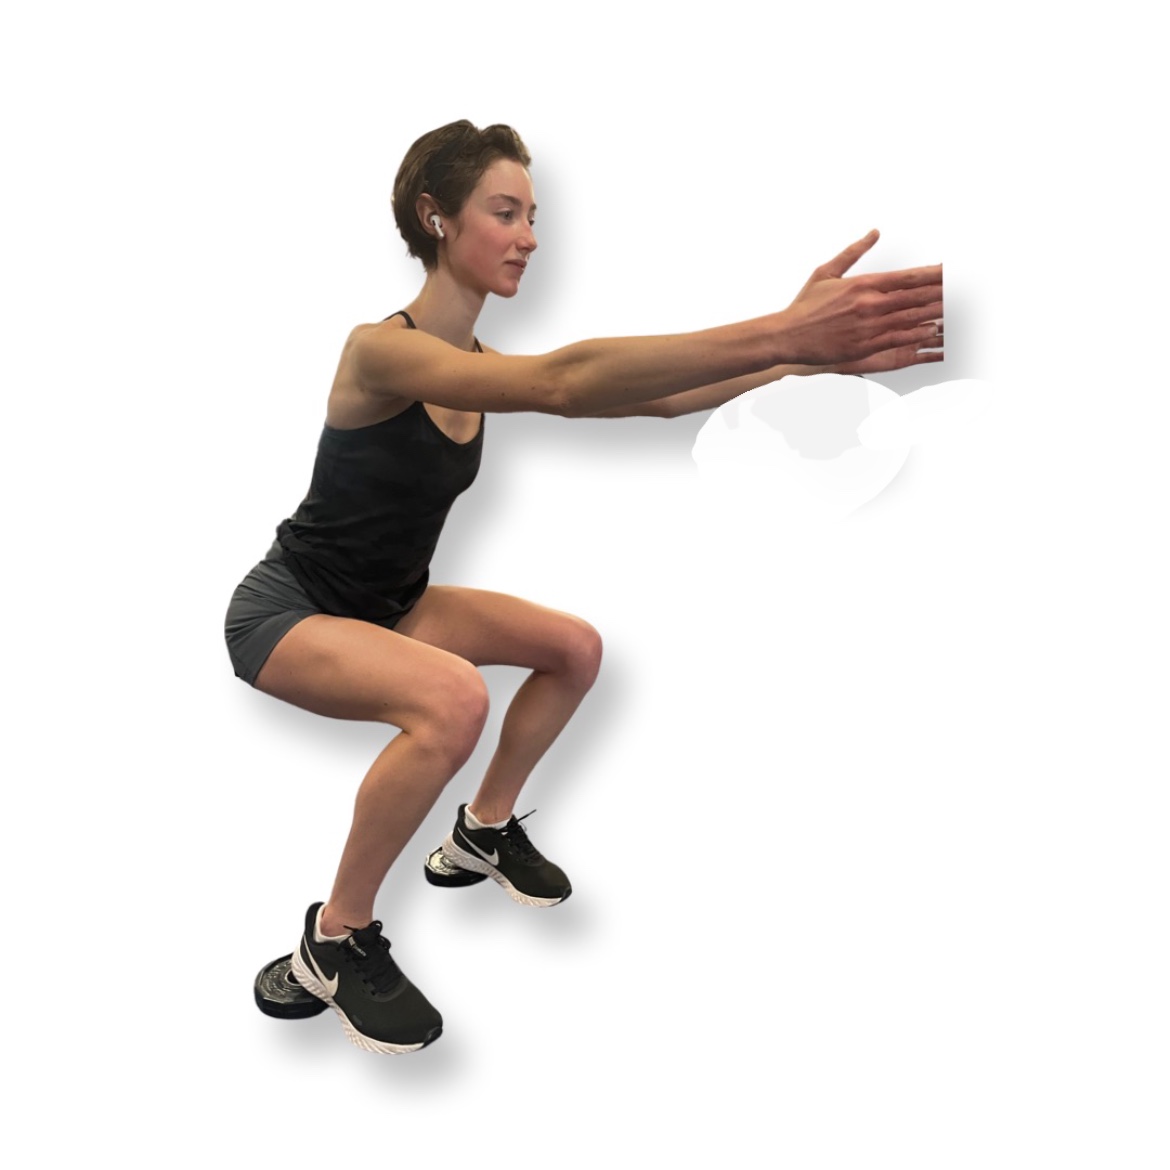
If your calves are tight, or you lack ankle mobility, try placing gym plates or a wedge under you heels in a squat. This will help you bend at the ankles (ankle dorsiflexion) an action that brings the shin over the foot. Improving your ankle flexibility will also help you flex into your ski turn more dynamically!


Photo by Connie Aronson